What This Does #
Helps you understand the main sections and how to move around the platform.
Main Navigation Tabs #
A. Build
- Where you train and configure your bot
- Add content, set personality, configure responses

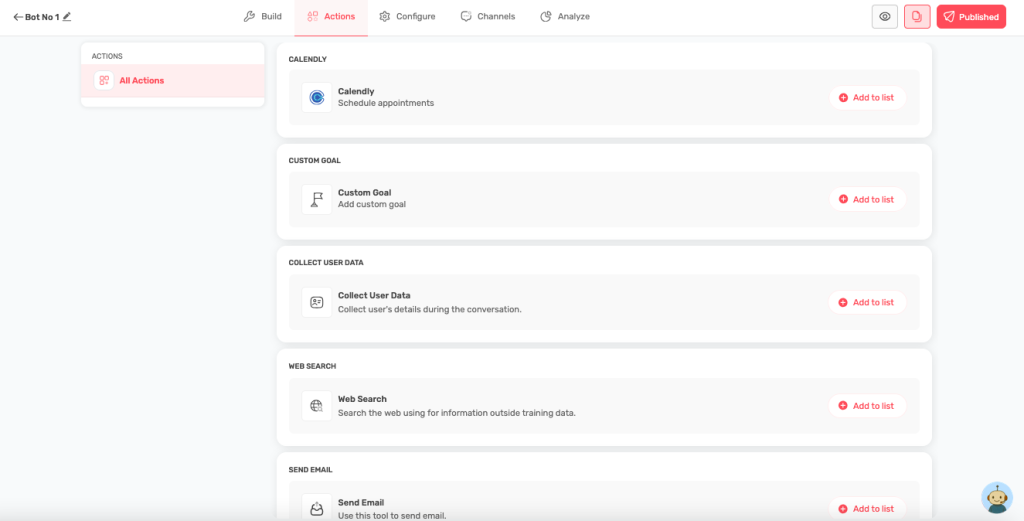
B. Actions
- Set up what your bot can DO (schedule meetings, send emails, etc.)
- Connect with other tools and services
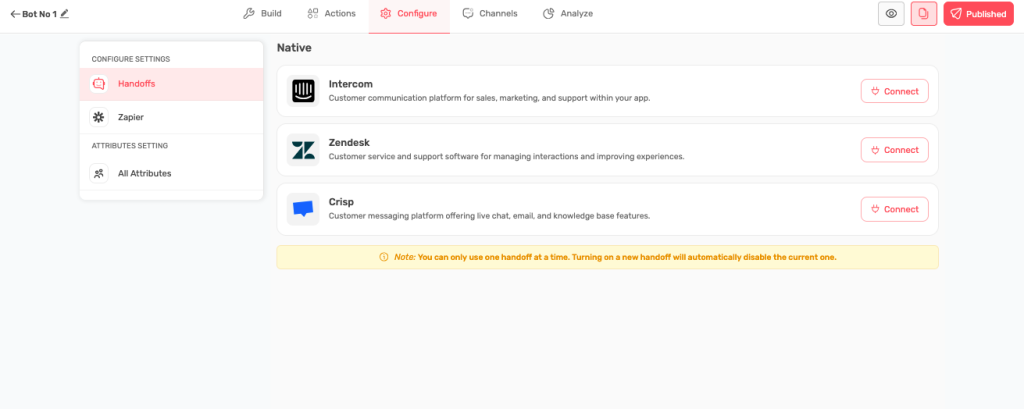
C. Configure
- Connect with third-party tools like Zendesk, Intercom
- Manage advanced settings
D. Channels
- Customize how your bot looks
- Get code to put bot on your website
- Set up branding and appearance

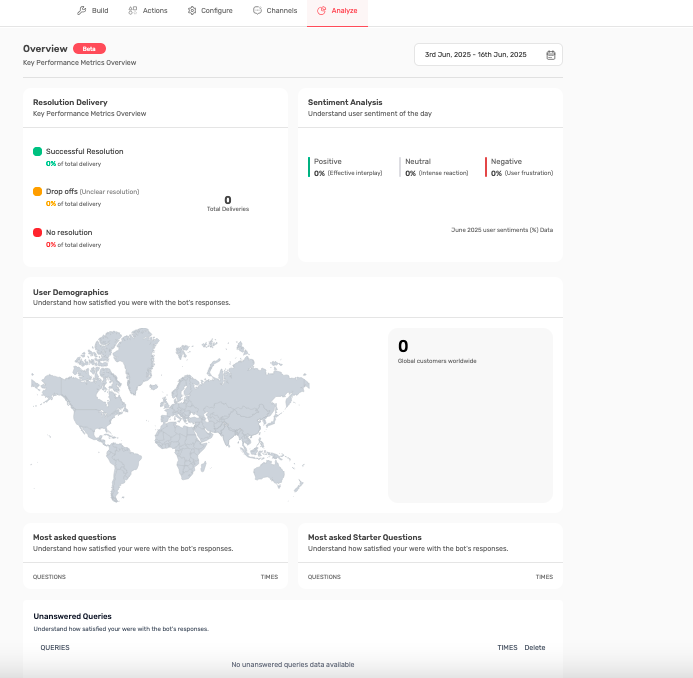
E. Analyze
- See how your bot is performing
- Check analytics and user feedback
- Find areas for improvement
How to Navigate #
A. Switch Sections
- Click on any tab at the top (Build, Actions, Configure, etc.)
- Each section has different tools and options

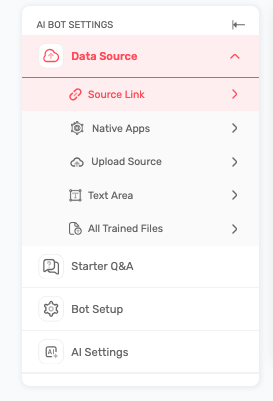
B. Within Each Section
- Left sidebar shows available options
- Click on items in the sidebar to access different features
- Main area shows the current tool or configuration
C. Save Your Work
- Look for the Publish Now button the top right to save and publish the changes. If you see “Saving…”, wait for it to complete
Quick Tips #
- Start with “Build” to add content to your bot
- Use “Actions” to make your bot more interactive
- Check “Analyze” regularly to see how your bot is doing
- “Channels” is where you customize appearance and deploy