


What This Does #
Creates a new chatbot that you can train and customise for your business needs.
When to Use This #
- Starting with ChatBot Builder for the first time
- Creating a new bot for a different purpose or department
- Setting up multiple bots for different websites
Step-by-Step Instructions #
- Go to Your Dashboard
- Log into your ChatBot Builder account
- You’ll see the main dashboard with “Recent AI Agents”
- Start Creating
- Look for the “Create New Agent” button (has a + icon). Click on it.

- Name Your Bot
- A pop-up will appear asking for “AI Agent Name”
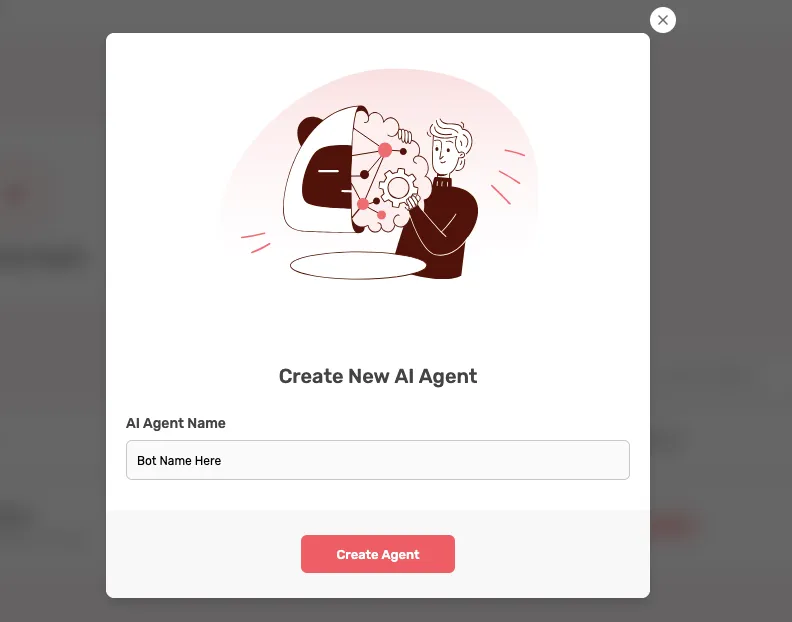
-
- Choose a clear, descriptive name like:
- “Customer Support Bot”
- “Sales Assistant”
- “Booking Bot”
- Avoid generic names like “Bot1” or “Assistant”
- Choose a clear, descriptive name like:
- Create Your Agent
- Click the “Create Agent” button
- Wait a few seconds for the bot to be created
- You’ll be automatically taken to the Build section
Tips for Success #
- Use names that describe the bot’s purpose
- Keep names under 50 characters
- Don’t use special characters or symbols
What Happens Next #
After creating your agent, you’ll be in the Build section, where you can start adding content to train your bot.